HIGH AVAILABILITY ARCHITECTURE WITH AWS CLI

Detail Description Of The Task :-
The architecture includes-
✔ Webserver configured on EC2 Instance
✔ Document Root(/var/www/html) made persistent by mounting on EBS Block Device.
✔ Static objects used in code such as pictures stored in S3
✔ Setting up Content Delivery Network using CloudFront and using the origin domain as S3 bucket.
✔ Finally, place the Cloud Front URL on the web app code for security and low latency.
PREREQUISITE
👉We need AWS CLI software for this
Download software from the given link
https://awscli.amazonaws.com/AWSCLIV2.msi
👉We need to make one IAM user which help user to login into AWS account
Follow all the steps serially to do this task
STEP 1: Configure your AWS from command line
After downloading the AWS CLI software from google .Type command aws configure it will prompt you to give access key and secret key type there ,give your region where your instance is launched .
Note- Secret Access Key is confidential don’t share with anyone

STEP 2 Launch EC2-instance on AWS using command CLI and also configured it as web server .
Follow the steps in the images below👇

Here we launch an Amazon Linux in my case you can launch any instance of your choice

Start the instance and inside the OS install httpd for configuring apache webserver
Yum install httpd
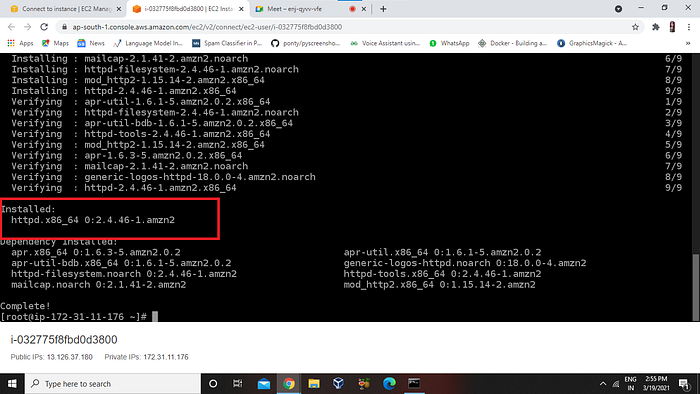
Now restart the httpd services and check the status


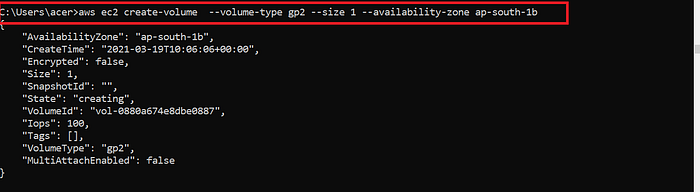
STEP 3 Lets create EBS volume of size 1GB
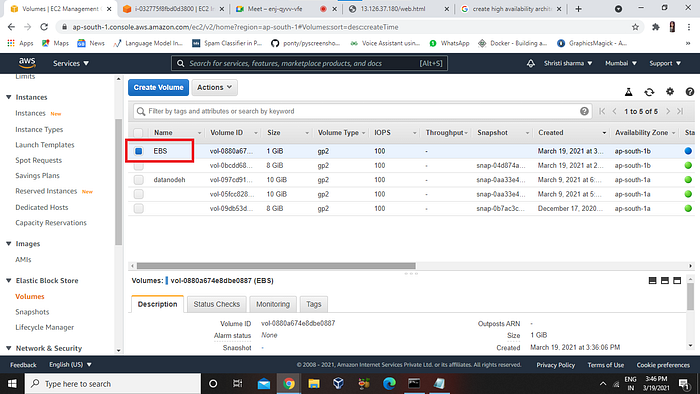
We can see that our EBS is finally attached by going to graphical screen of AWS
Lets attach EBS volume by the following command.

Now we can see that 1GB EBS is attached by using command fdisk -l
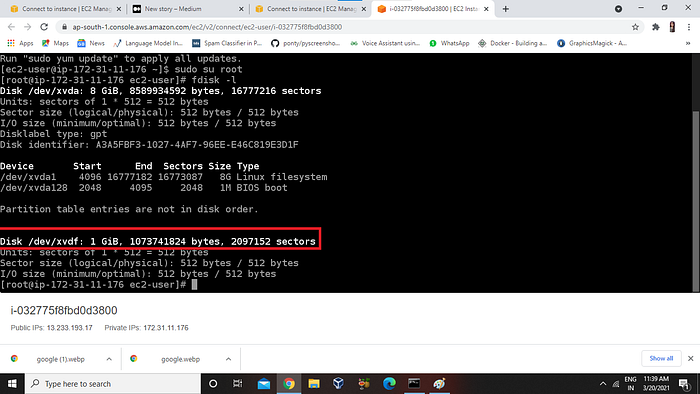
Create partition of the disk by entering inside the disk using command fdisk /dev/xvdf
After creating partition save it
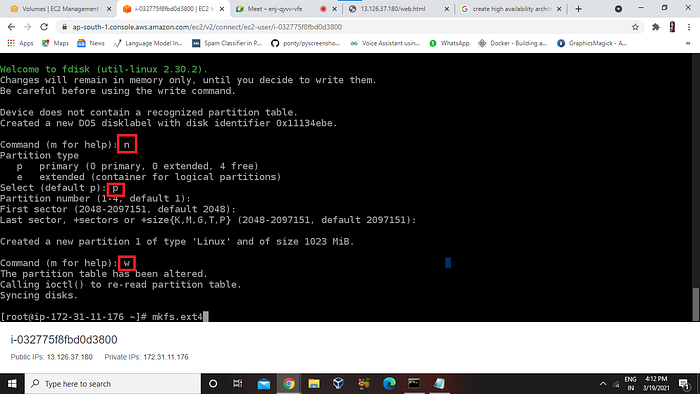
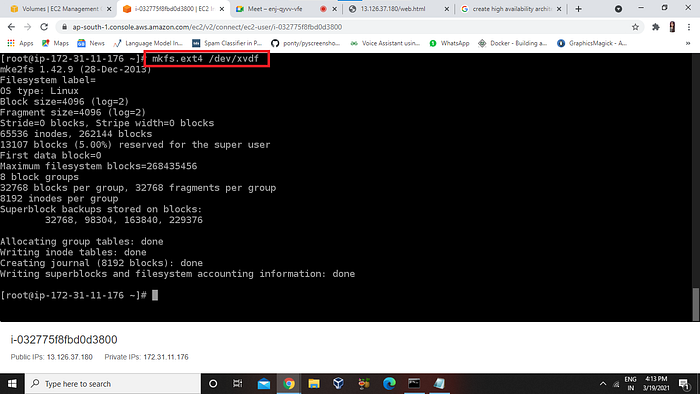
Format the partition by using command mkfs.ext4 partition name
Mount the partition to /var/www/html directory .
After mounting creating a file
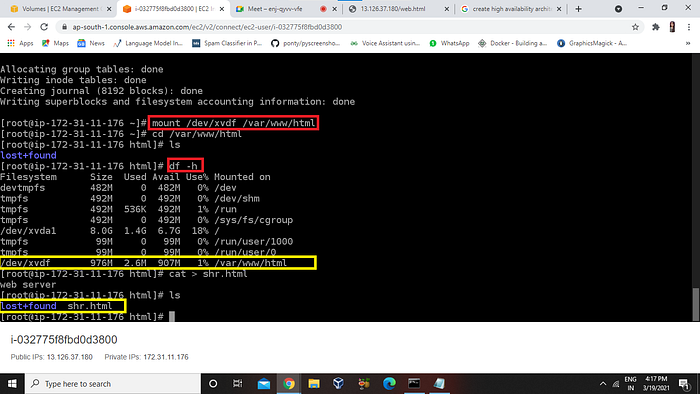
We can see again our web configured successfully after mounting the EBS directory.
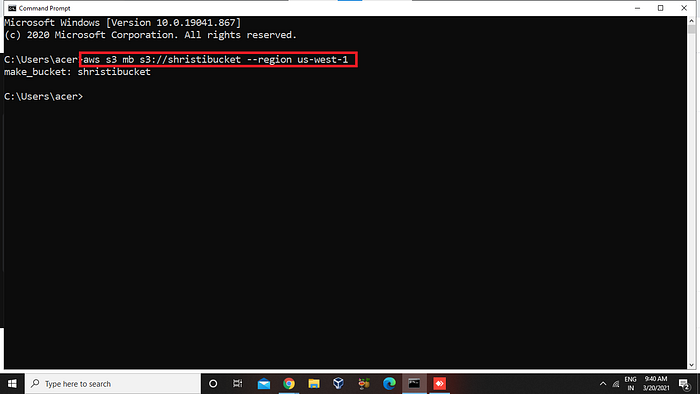
STEP 4 Lets Create a S3 bucket
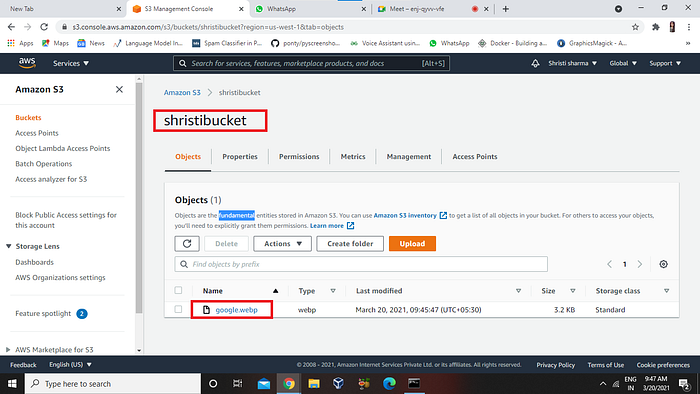
Now upload any image of your choice in this case my image name is goo.png
Here what are we doing we are uploading our image in S3 bucket
REMEMBER → Always tried to give your bucket unique name otherwise it can show you error . If any error occur maybe this is the reason So check accordingly.

Here we can see in our graphical screen our bucket has been created by my name i.e. is shristibucket
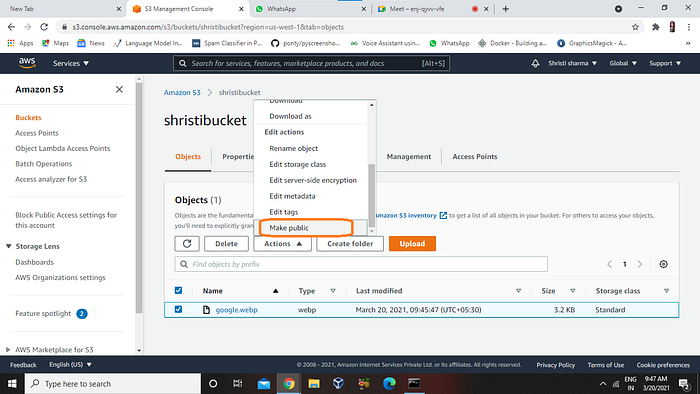
After Uploading the image it is necessary to make it public so that outside user can easily access your object/images.
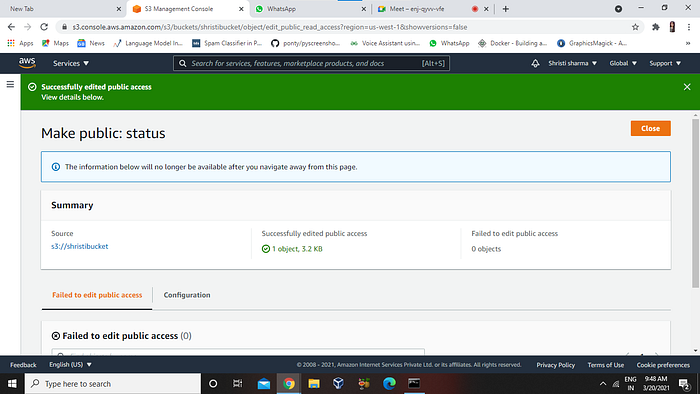
Successfully publish
Step 5 Now this is our last step in which we are going to create a CloudFront distribution via AWS CLI

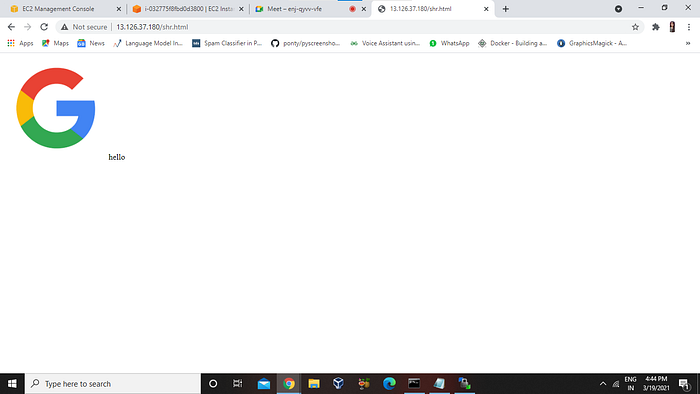
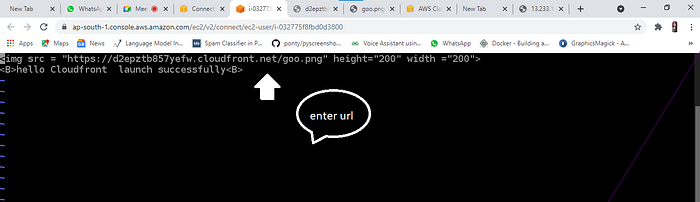
Now we need to copy our domain name of the distribution in the image source tag in the shr.html file

Here provide the domain name of Cloudfront
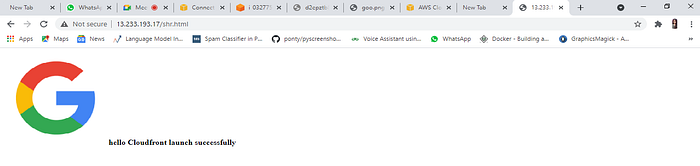
Now access the website using public domain and public IP of our ec2 instance while giving your file name.
We are done!! As mentioned above we have performed all the steps .If don’t understand anything ping me on my Linkedln
Lets connect https://www.linkedin.com/in/shristi-sharma-46540b1aa/
Keep Learning Keep Sharing!!
By -Shristi Sharma